
So, you’re an avid hiker, camper, summer adventurist, what have you, and you’ve decided that you want 12 months of fun instead of just six (or however many you’re comfortable with right now for the temperatures). You’ve bought warm clothes, you got a cozy 0-degree sleeping bag, and you’re pretty darn sure that your tent is capable of withstanding some cold (or you’ve really gone all out and bought a 4-season tent — if you plan on going above treeline). Hot damn! Sounds like you’re ready for your first winter camping outing.
 Choosing and Preparing a Tent Site
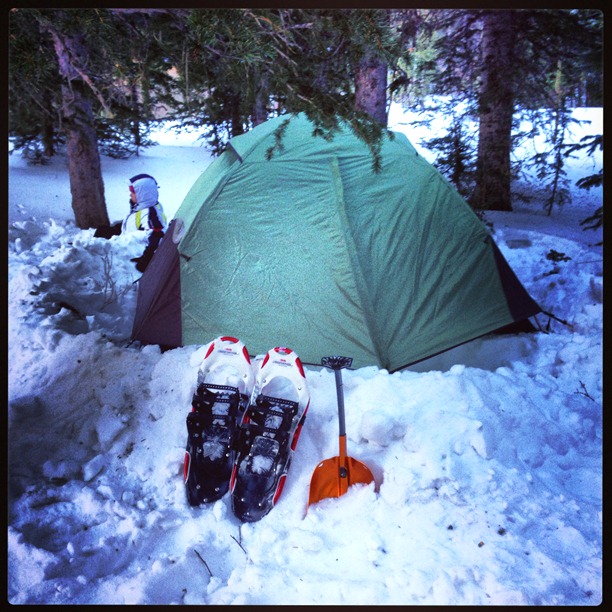
Unless you’re camping above the treeline, try to pick something flat with a lot of snow and a lot of trees and/or shrubbery around to act as a natural windbreak. If you are camping above the treeline, flat and snow is about all you’re gonna get, but be on the lookout for some rock formations to act as your windbreak.
After you’ve chosen your site, stamp down an area in the snow the size of your tent. Using snowshoes is ideal, but you can use anything to make the soft, fluffy stuff more packed to support your weight once your tent is setup and you’re ready to lie down for the night. Make sure you have at least one door facing away from the wind; you’ll see why later (if it’s not painfully obvious). Put down some kind of ground tarp so that as the snow melts beneath you, it doesn’t soak into your tent material. Don’t worry, it doesn’t melt much, but you also don’t want to take the risk.
Anchoring Your Tent
In the summer, it’s easy to pound a stake in the ground, provided it’s not rocky, but what do you do in the winter when the ground is frozen? You create “deadmen”. I don’t want to guess as to how this name came about, but this anchoring technique is even stronger than pounding stakes.
The cheap way is to get some cheap nylon parachord or even the $3 stuff from any ‘ol hardware store and a rock or stick.
- Cut the rope anywhere between 12 and 24 inches (that’s 1 – 2 feet), and then seal each end (for lack of a better term since I’m having a word-fart). This will prevent the ends of the rope from fraying. (If you’re using nylon rope, you can melt the ends with a flame and then use a pliers to smoosh it all together.)
- Attach one end of the rope to the tie-off point on your tent, where you would normally set a stake.
- Tie the other end of the rope around the rock or stick.
- Burry the rock or stick in the snow or at least pile a bunch of snow in front of it, towards the tent. (You wouldn’t believe how strong 1-2″ of snow is, especially after you’ve set it and let it freeze overnight.)
- Repeat for the rest of anchor points, pulling gently to spread your tent to its maximum size, just as you would as if it were summer and you were using stakes.
The more expensive option is to buy some snow anchors from REI or the like.
Moisture, Your Worst Nightmare
Moisture in the winter sucks. This includes sweating during the day and your hot, steamy breath at night. Yes, that’s right, your breath. Perhaps contrary to common sense (or at least it was to mine the first time), you don’t want to button down your tent and seal up all the space between your vestibule and the ground so that you keep the snow and wind out of your tent. In fact, if you do, you’ll create quite the rainforest inside your tent. Without ventilation, the steam will collect at the top of your tent. Eventually, you’ll build up enough condensation, and it will literally start raining, get your sleeping bag wet, and even worse, potentially drop on your face and wake you up (if the urge to urinate hasn’t already kept you awake).
Funny story: even if you never ever have to pee in the middle of the night at home or while camping in the summer, you will have to pee in the middle of the night while winter camping. Guaranteed.
Allowing Ventilation and Keeping the Wind and Snow Out
This is the bread and butter of setting up a magical place to sleep. You’ll stay warm, you’ll stay dry, and the wind won’t bother you.
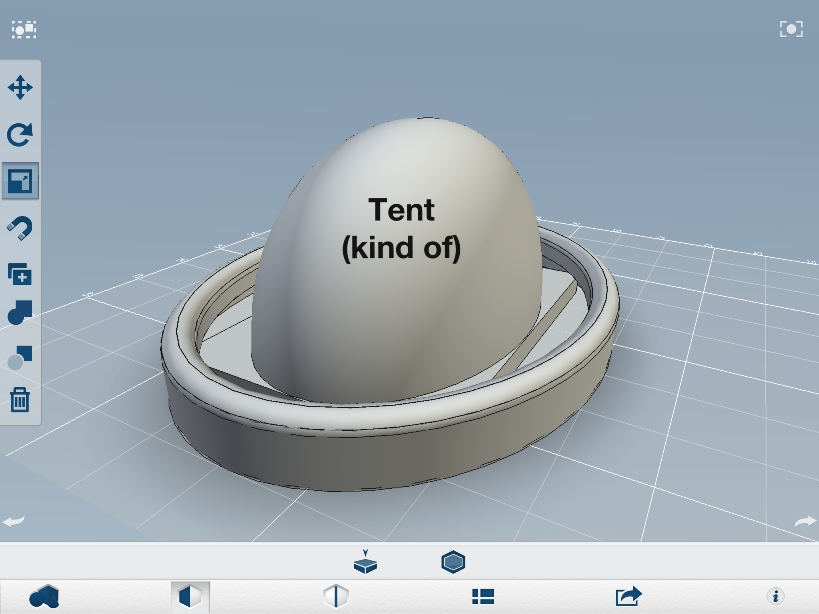
After you’ve got your tent set up, just as if it were summer, it’s time to dig a cold air trench if the snow is deep enough, and pile snow around tent as another windbreak. The windbreak is the most crucial part; the cold air trench is just a really nice bonus. For this post, I’m going to assume there’s a good amount of snow underneath your tent.
You want to dig out the area underneath your vestibules. Make sure to leave enough space between the edge of the tent and the area where you start to dig. You don’t want to get too close to the edge of the snow and have your platform collapse underneath you as you’re lying there. You can also dig out the sides of the tents that don’t have vestibules or doors. As the term “cold air trench” implies, this allows space for cold air to sink below the platform on which you are sleeping. Every little bit counts.
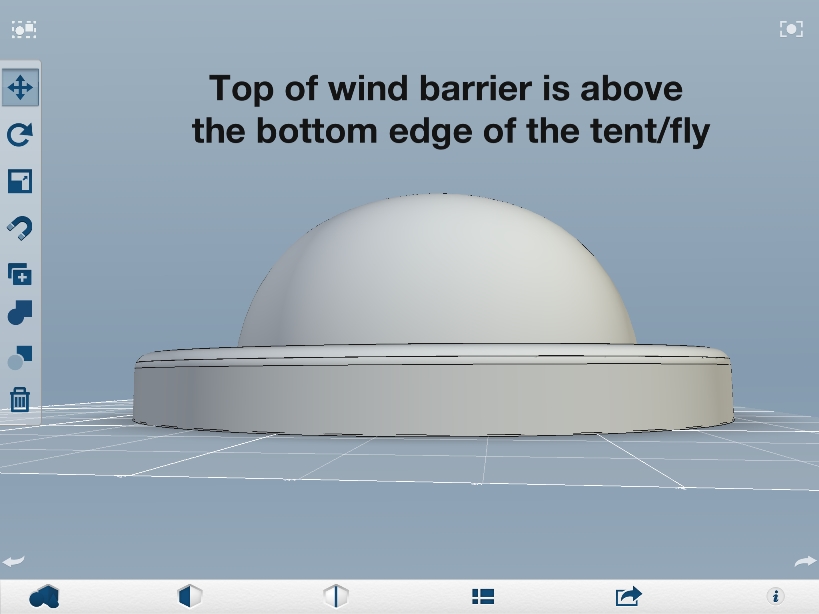
For making the windbreak, keep all that snow you just shoveled nearby. You want to pile snow 4-6″ away from the the tent and vestibule (laterally) and above the edge closest to the ground (vertically). This allows air to flow through your tent and remove the moisture while blocking gale force winds. The higher you build the wall, the more wind will be blocked, obv. Be sure to leave a small opening in the windbreak to the entrance of the tent that you positioned facing away from the wind. (See, I told you you’d see why.)

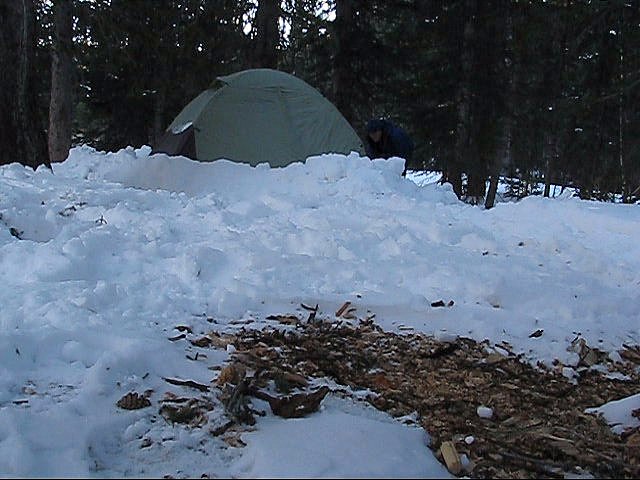
And there you have it. There are many other facets of winter camping that need special attention, but if you do this part right, you’re well on your way to a great night’s sleep!
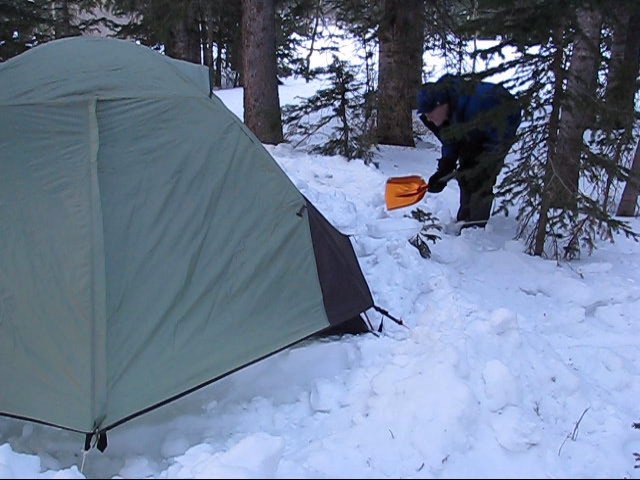
Now, let’s all watch as Anh makes sure the wall is going to hold up to the 50 mph wind gusts.


Nice details. I have never camped in the snow, but when I do I’ll need all the tips I can get! Thanks.