
Believe it or not, I’ve been blogging, writing, and designing/maintaining WordPress sites for almost 10 years now. When did I get so old?! Part of the reason I started my outdoor travel blog way back when was to make money while traveling and to share the awesome places and things I get to do because of it. Now I want to take just a portion of what I’ve learned over the years and help YOU start your own outdoor, travel, adventure blog.
Hosted vs. Self-hosted website
A hosted website is a website you can get for free by going to WordPress.com or by creating a Blogspot account. You can still choose what it looks like from within the choices they give you, and you can still blog until your heart’s content.
But hosted sites are also very limited in customization and monetization. You can’t change the themes beyond what is already built-in to them. The possibilities of changing functions and performance are fairly non-existent, and you can’t integrate any e-commerce or email marketing. Basically, you don’t actually own your website. Just like you don’t own your Facebook page.
If you have any intention of growing and becoming a legitimate blogger/influencer/business person, it’s better to start right off the bat with your own self-hosted website, and that’s what this guide will cover.
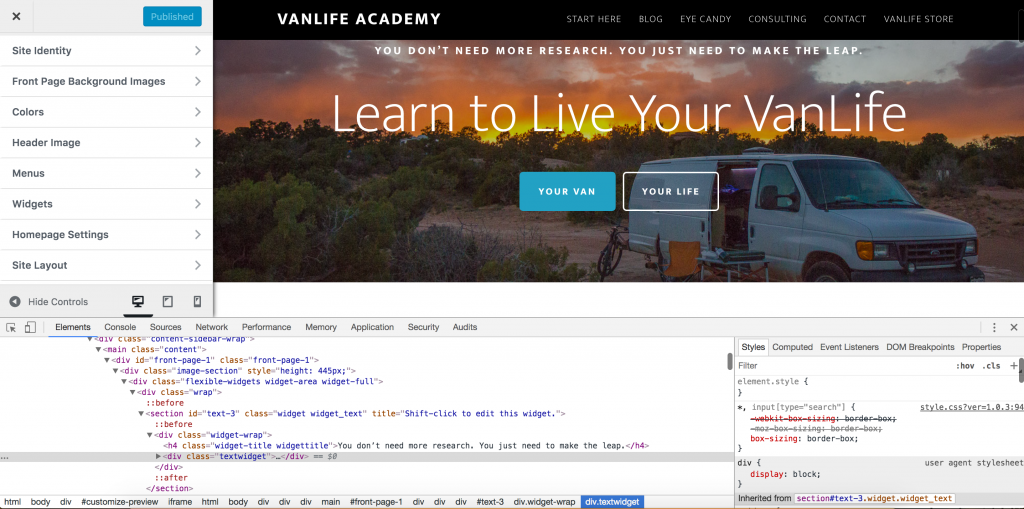
How to build and design your website
It’s a pretty easy process once you’ve gone through it, but it can be pretty intimidating and confusing your first time. I’ve gone into quite a bit of detail in every step so that you have enough vocabulary, education, and confidence to do this on your own, or if you still get stuck, you’ll know what to search for on Google and support forums.
If you’re more like me and want to “figure it out on your own” with just a few nudges here and there to speed up the process, here’s the quick and dirty with links to each section just in case you get stuck.

- Buy your domain from a reputable marketplace:
- Buy web hosting from a well supported company:
- Install a Content Management System (CMS) to build your site on
- I would personally choose WordPress 99.99% of the time.
- Then install a premium theme and customize once you feel comfortable.
- Choose CMS
- Install theme
- Put it all together for a working site
1. Buy your domain name
In some ways, your domain name really matters. In other ways, not so much. It should be relevant to your blog theme, product, or service, but it doesn’t need to be laser focused. What if you need to pivot or rebrand later on down the road? It should be accurate, but not necessarily precise.
Bad examples:
- TravelBlog2018
- What happens once January 2019 rolls around?
- MacroPhotography.com
- But then you want to expand your portfolio to include landscapes and portraits of clowns
- OnlineLaundromat
- And then you realize you can’t actually wash clothes on a blog
Good examples:
- VanLife.Academy
- I can write about anything VanLife related: building a van, the lifestyle of living on the road, and/or how to make money online while living in a van
- YourName.com
- Your brand is your name, and you can do anything with it — travel, adventure, gear reviews…
- iLoveBacon.com
- You can do anything and everything that contains bacon or touches the pork industry. It’s specific but incredibly broad reaching.
How and where to buy your domain name
If you do a Google search for “buying a domain name” you’ll get a ton of results. Established, legitimate marketplaces as well as start-ups and back alley black markets. Domain names are CHEAP so don’t try to save $1 by going with a shady looking site. Stick to the big names:
Just type your desired domain name into the search bar and see if it’s available. If it is, proceed to checkout. If not, keep searching.
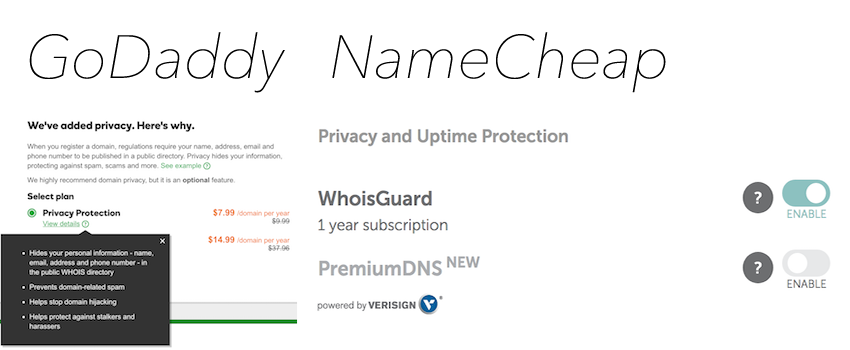
Once you find your new domain, I suggest registering it privately. It won’t keep all scammers, spammers, and hackers away from your private information, but it’s a good place to start.
Next…
2. Website Hosting
Your “host” is where your website lives. Let’s imagine it this way:
Pretend you use Lightroom, which is installed on your computer. In this regard, your computer is the host because it’s hosting the program. You can’t host your website on your own computer because millions of people around the world are going to try accessing it all at once. Your computer isn’t up to that task. This is why you need to rent space on a server or in the cloud.
How and where to buy website hosting
Just like the merchants selling domain names, there are a ton of good, bad, and ugly hosting providers out there too. And just like domain name providers, hosting does NOT cost a lot of money. Don’t try to save a buck at the cost of poor hosting.
These two hosts are the best for setting up a catch-all website, blog, and e-commerce store. Especially WordPress. (More on this later.) If you’re doing something else that’s very specific, then you may want to look into hosts that specialize in your specific thing (hosting apps, online games, big user-generated data repositories, etc.).

Why choose Bluehost or WP Engine
First I should say that I’ve been a customer with Bluehost for 8 years, and have only experienced one single outage the entire time. That was due to 25,000 people trying to get to my site all at once, not their service. I contacted their support, they upgraded my hosting package, and I was back online in no time. I’ve also referred several clients to them, and they’ve never had any issues either.
I have no firsthand experience with WP Engine, but other developers and people I wholeheartedly trust sometimes choose WP Engine over Bluehost. Which tells me they must be amazing too. I don’t think you can go wrong with either choice. They both have:
- 24/7 technical support
- Optimized server performance for hosting WordPress websites
- Free SSL server (for accepting credit card transactions on your site)
- Fast and easy upgrade packages should your site go viral or grow in immense popularity
- Firewalls and first line of defense against hackers and viruses
The temptation of GoDaddy and NameCheap
It’s very tempting to keep your hosting right at GoDaddy and NameCheap. They make it super easy to upgrade and offer to perform a lot of other services in order to keep you there. They also bombard you with a ton of marketing.
I’m sure that for 80-, 90-, 99% of the time, their hosting service is just fine. But I can tell you, dedicated hosting services always perform better than those offering to bundle stuff together. And again, it’s cheap. You might as well go with a dedicated service for the same price.

3. Website Content Management System (CMS) / Design Platform
Whether you know it or not, you’ve heard of most major design platforms:
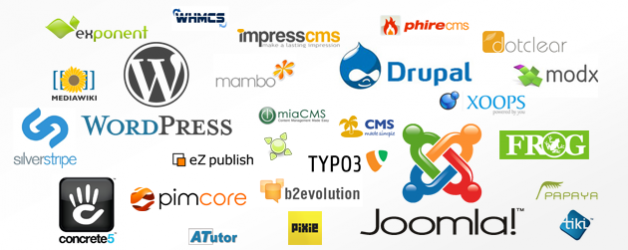
- WordPress
- Wix
- Squarespace
- Joomla
- Drupal
- Woocommerce (e-commerce)
- Shopify (e-commerce)
I’m going to skip the two e-commerce options for now because most of the time you want those things integrated into your blog anyways, and they don’t make for great standalone sites for other reasons too.
Of the remaining 5, I have personal experience with the top 4. You can find a ton of comparisons between each of them if you go out and search around so I’m not going to do that here. I will just say that WordPress is the best, and there’s the reason it’s the #1, most used platform on the internet.
I know that hardcore programmers hate it for some reason, but if you’re reading this guide, you’re not a hardcore programmer. You want something fast, easy, and cheap. And then maybe down the line you can start thinking about customizations.
With WordPress, you can use a free theme, add a few pictures, add your site name, and have something up and running in a few hours. With a little bit of programming knowledge, you can customize it in almost any way imaginable….for free.
WordPress Themes
The theme is the thing that your users and visitors will see when they visit your site. Think of ‘WordPress’ as the frame of your house, and the theme is siding, interior decorating, and Ikea furniture. And just like Ikea furniture, there is a huge variety of color, shapes, styles, prices, and functionality.
Personally, I steer clear of the free ones. Since they’re free, everyone uses them, and even with customization, your site will look like many others. Also, premium themes have a lot of built-in functionality and eye-pleasing designs. It is a much better, faster, and longer lasting starting point than a free option. I have used and highly recommend the following themes and frameworks:
The most complicated site I’ve built is on WordPress and has an e-commerce store with members-only area, is integrated with Stripe payment processing and Mailchimp email marketing, and a handful of custom programs and design changes.
4. Put It All Together
At this point you have a domain name, web server hosting, a CMS platform (hopefully WordPress), and a theme. But unless you’ve already taken the “bold” step of following the on-screen instructions for installing WordPress on your hosting site as you were setting it up, none of these things are actually linked together. They are just 4 separate items sitting on the table and are completely worthless until you put it all together.
Point your domain name to your hosting account
I use GoDaddy to buy my domain names and Bluehost to host my site so the steps might be slightly different for you if you went with a different combination, but the terms and vocabulary should be pretty close so that you can search and find your way around.
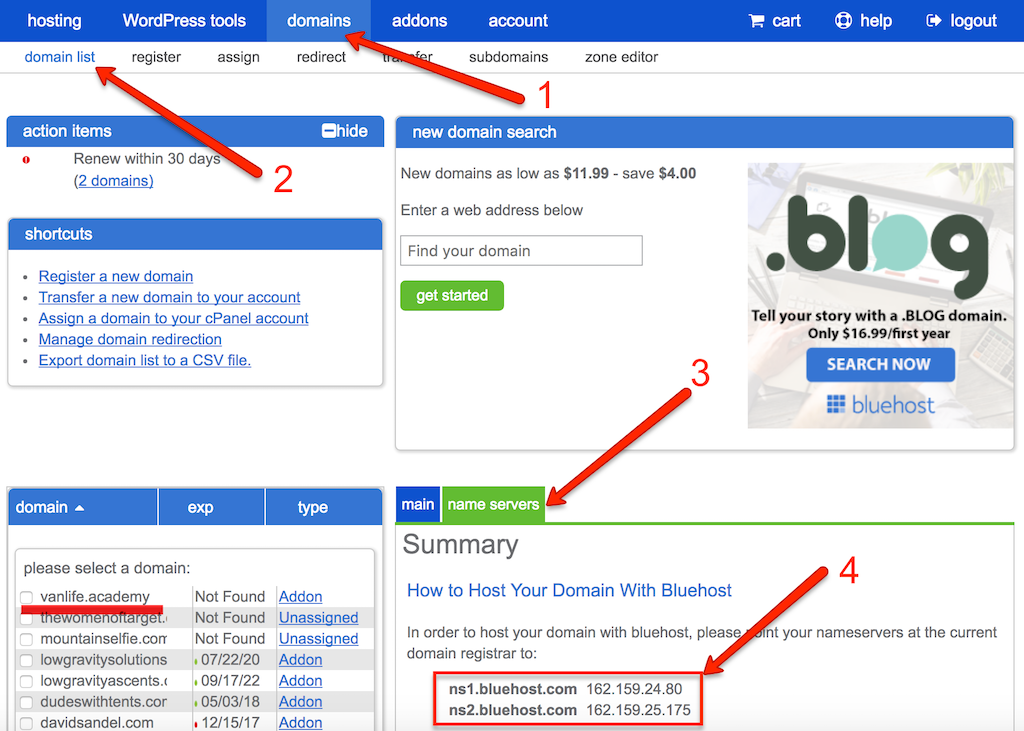
First, open your domain provider account and your hosting account in separate tabs or windows. Then go to your hosting account and find your DNS nameservers. In Bluehost, it’s Domains (1) > domain list (2) > nameservers (3). Write down, remember, or copy/paste the nameserver addresses (4) like you see below.
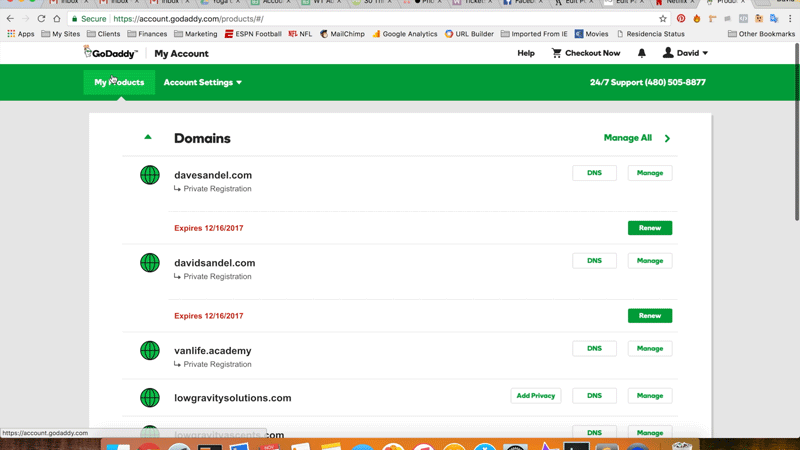
Now switch over to domain provider and navigate to your domain(s) list and look for something to manage the DNS nameservers. Once you find it, enter the DNS nameservers you got from above, and then ‘save’ them. This is what it looks like for GoDaddy:
Install SSL before you go any further
You can do this at any point, but it’s just simpler to do right now with the hosting page open and before you’ve installed a CMS or setup site speed and SEO optimizations like Google Webmasters.
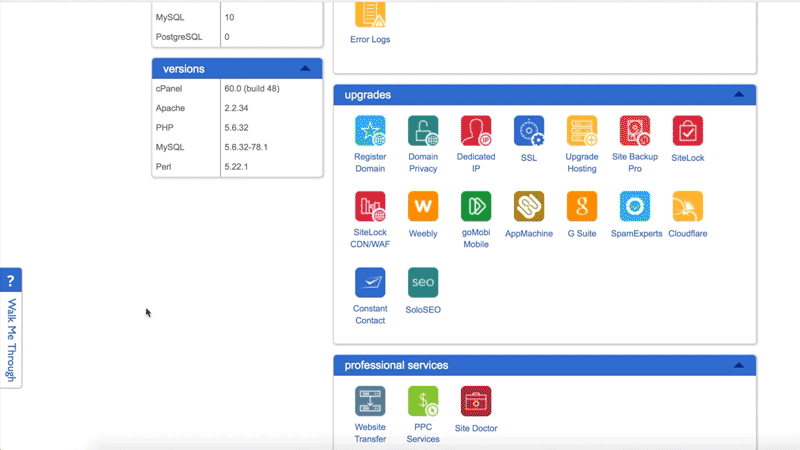
With Bluehost, it’s super easy. At the top of the dashboard or Domains screen you were just at, next to domains, is “addons.” So, go to addons > addons > and find something about installing free SSL. Choose the domain you want to install it on (if you have more than one), and follow the prompts on the screen.
Choose WordPress for your website
Not only is it the most supported, most integrated, most SEO-friendly CMS out there, but if you choose Bluehost or WPEngine as your host, they have 1-click installations and free or discounted premium themes.
As you go through the installation process, make sure to write down the username and password they give you. You can see when they give it to you in the video below.
Install your WordPress Theme
 No matter what theme you go with, the process of installing it is always the same. First go to your admin panel by typing in the following in the address bar and then logging in with the credentials they gave you when you installed WordPress:
- MyAwesomeDomain.com/wp-admin
- where you type in your own domain name in place of ‘MyAwesomeDomain’
Once logged in, on the left side of the page near the bottom is a link for Appearance > Themes. Click it.
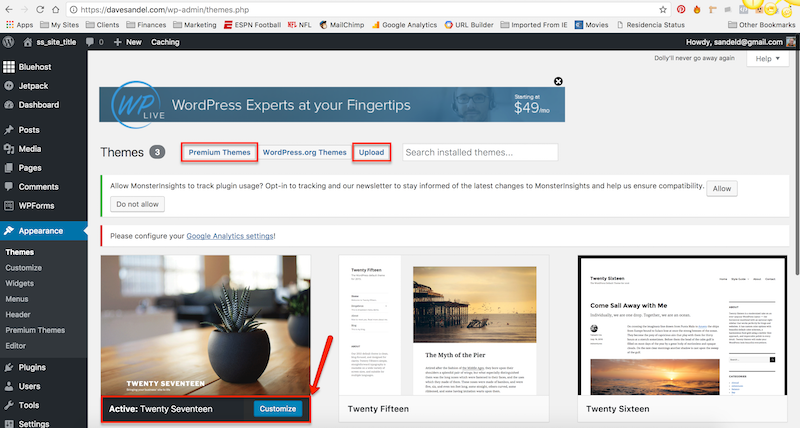
By default, the WordPress theme from the current year will already be active. You can either click on “Premium Themes” to search for more, “Upload” to upload a theme that you’ve downloaded already, or “Customize” to use the one provided.
If you bought and downloaded one of the themes or frameworks I listed above, you’ll want the “Upload” option. The screen will provide instructions to finish it off.
Finding support
For additional help and support, don’t hesitate to utilize the 24/7 support from Bluehost and WPEngine. Most WordPress theme providers also have tremendous support, especially if you buy a premium theme like I listed above. They typically have a ton of support documents and community forums on their own websites too.
And if you really get in a bind and are for some reason embarrassed to talk to them, you can always get in touch with me and see what I can break. 😉
At this point, you can’t really break anything, so I highly suggest this trial and error approach to truly learn the in’s and out’s of your website. If you do manage break something at this point, everything is still “fresh” so if you have to re-install or wipe your server clean, you won’t be losing years worth of content, SEO, and hard work.
But if you really want help. If you need help. Just let me know below, and I’ll see what I can do. It’d be especially easy if you went with the exact setup I use:
- GoDaddy domain name
- Bluehost hosting service (with free SSL)
- WordPress CMS and Altitude Pro theme
Now get out there and start blogging!
Ask me all your questions


