
Building a Camper Van: Part I – The Foundation
As a male, and an engineer, I’m quite narrow focused. First you complete one task, then you do another. It’s not that the interior build-out can’t happen at the same time, but with only being able to work on the van after my real job and some weekends, I prefer to focus on one thing at a time.
Like I said after buying the van, it needed some engine and drivetrain work. I call this the foundation. Much like building a real house, if your foundation is junk, so will be the rest of the house.
Once I got back from New Hampshire, Derek and I went over the engine stuff in slightly more detail than I had when bought it. The initial assessment was that it needed new spark plugs and wires, a transmission seal, brake/tail lights, and a gas cap to clear all the engine codes.

So as it turns out, replacing spark plugs in a GMC Savana isn’t the easiest. In fact, it took two full evenings to replace 8 of them. And while we were in there, we found that I needed a new distributor, rotor, and distributor cap. The rotor and cap were cheap enough to buy brand new, but I’m still scavenging junk yards for a distributor.

Next we tackled the fluid situation: the fact that there was hardly any fluids in it. (I mean, c’mon, I bought it for $2,200. This thing ain’t prestine!) The coolant level was damn near empty, just enough to not overheat the few times I’ve driven it, and there was only 3 quarts of oil in it (hint: it requires 5). I topped off the coolant and changed the oil, but it concerned Derek that the oil may have sludged and was just sitting in the valve cover all sludgy and gummy and gross, like tar.
That set off the next expedition: Remove the valve cover he said. It’ll be easy he said.
False.
In order to remove one (1) valve cover, we ended up removing the air filter housing and hosing, coolant reservoir, oil filler tubes and supporing clamps, distributor module, half the spark plug wires from the distributor cap, and disconnected a host of sensor cable assemblies.
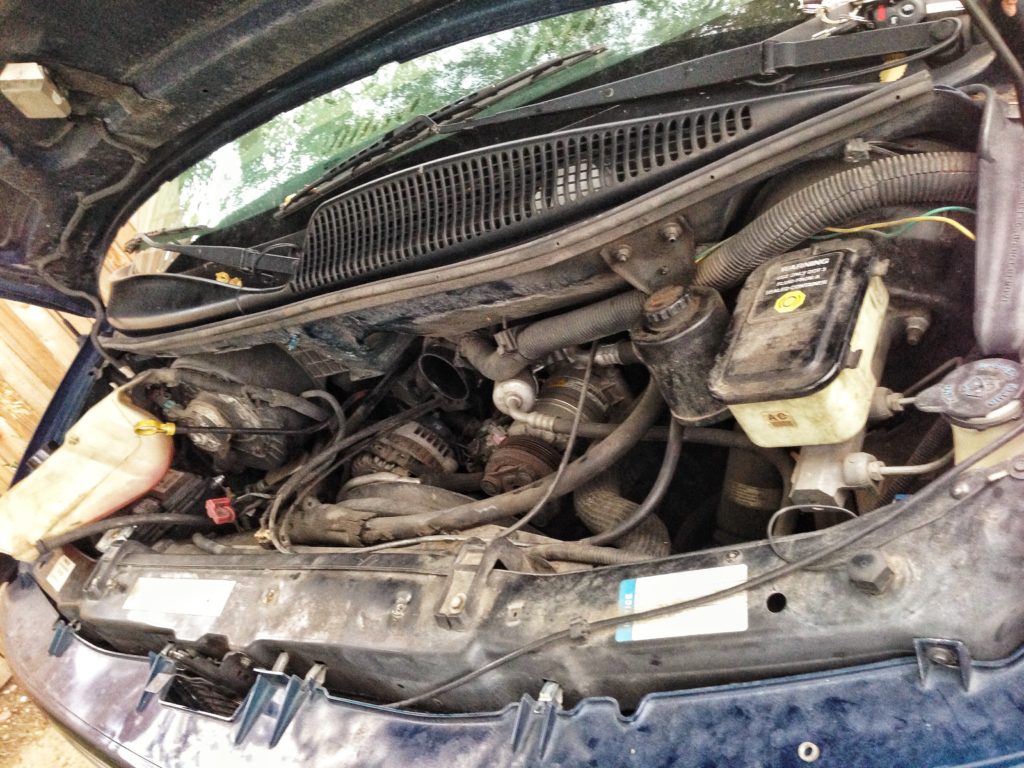
Good News
The “good” news is that we found several other, smaller components that need to be replaced: an idler pulley, serpentine belt, a gasket on one of the oil tubes, and some bolting hardware that was not factory.
The “best“ news is that
A) the oil wasn’t sludged
B) the radiator is new
C) Derek thinks the previous owner replaced the original engine with one that has significantly less miles than the 175,000 that the odometer reads. YASSSS!!! (That was my biggest ragret of buying this particular van.)
We now think the lack of oil was either due to a an unseen leak to this point, the timing is off and it’s burning excess oil, or the other person just didn’t ever change/check the oil. Time will tell.
Drivetrain and Stuff
I mentioned that it needed a transmission seal. Remember that? Well, it might need a minor transmission rebuild. We’ll figure that out once the engine is back together and…
New shoes! It’s getting new shoes!
 When I posted this very first picture (this doesn’t count as 2 pictures for the post cuz I already posted it, duh), I got a few sarcastic (I think) compliments on the American Racing rims. Since the van has less ground clearance than my Subaru, I decided to go bigger. It needed 4 new tires anyways, so why not get 17″ rims and bigger tires than the one’s that are on there now, eh?
They should be installed by the end of this week so I hope to get some pics up on social media as soon as I see them. I’m hoping they’re semi-obnoxious. Like, to the point where we have to trim the bumper, relocate the exhaust, and give it a 3″ lift. Braaappppp brappp!!
And that’s where it is today:
- Engine torn apart, waiting for new parts
- Getting new rims and tires
- Waiting to see if the transmission needs to be rebuilt
- Waiting to see if we have to do the mods due to big tires
My hopes and dreams are that I get that all done by this weekend (assuming no transmission rebuild) and that we don’t find any more, smaller engine problems. Then I can move on to Part II: The Interior.
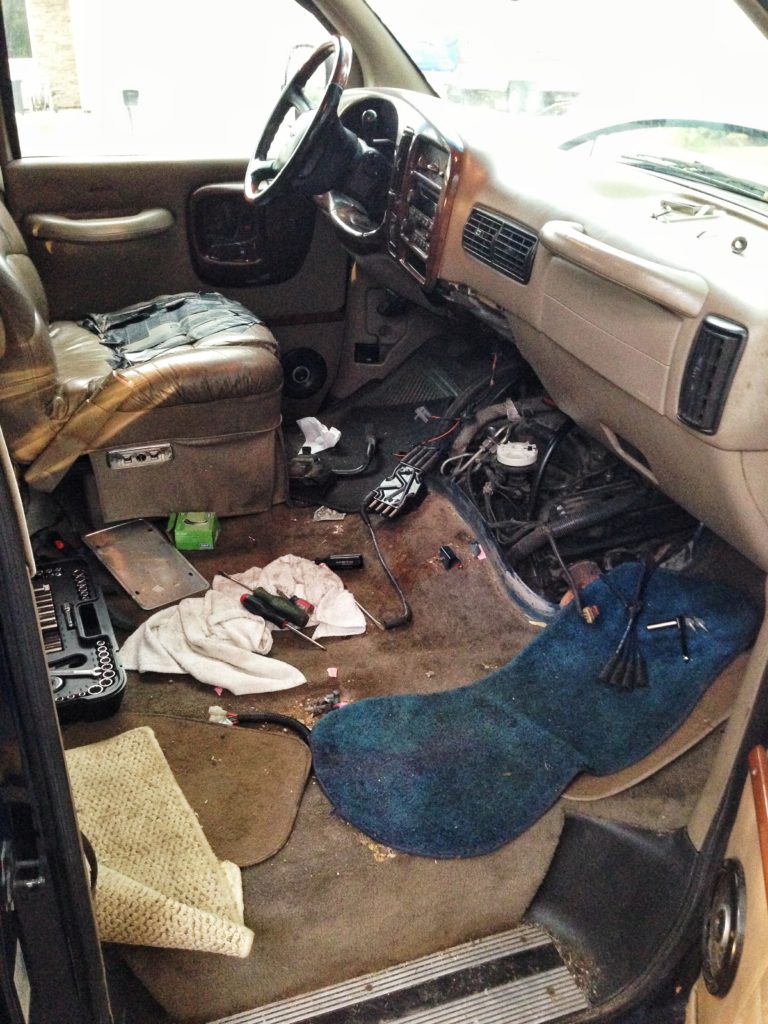
The first plan of attack is removing the 2 captain chairs and existing fold out bench seat, give it a good vacuuming, remove the TV and VCR, and hollow out some existing storage above the headliner.


Good start. Your plan to get the drivetrain right first is sound. How are the brakes and the brake system (more important than being able to go is being able to stop)? When you do move to the interior, I am curious to know what you will be considering for insulation…knowing how you intend to use this vehicle, I suspect you will want to put some thought and effort into that area.